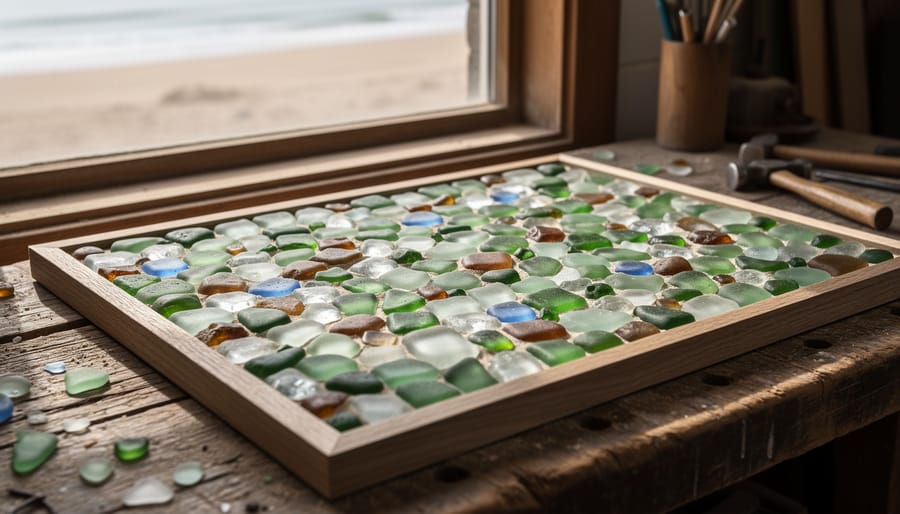
You can turn a handful of beach-found seaglass into a framed mosaic, a tabletop, or a garden stepping stone in a single weekend, and you don’t need an art degree to do it. The method is simple: sort your glass by color and thickness, lay out the whole design dry, glue it down with a strong adhesive, grout the gaps, and let everything cure before you hang or display it. Most beginners finish a small piece, about 8 by 10 inches, in two to three hours of hands-on time, plus a day or two of drying. Patience is the only real prerequisite.
Seaglass works so beautifully because the ocean has already done the hard part. Years of tumbling in salt water leave each piece frosted, softened, and unevenly colored, which gives a finished mosaic a quiet, weathered glow that polished craft glass can’t copy. It’s a natural fit alongside Southern vintage decor where worn finishes and a story behind every piece are the whole point.
Below, we’ll walk through where to find your glass, what to gather, and how to build a piece you’ll be proud to hang on the wall.
Gathering and Choosing Your Seaglass Before You Begin
Seaglass is just ordinary glass that tumbled around in the surf for years until the waves and sand rounded every sharp edge and gave it that soft, frosted look. Old bottles, jars, and tableware are the usual sources, which is why you’ll find so many shades of green, brown, and clear, with the occasional prized blue.
If you’re gathering your own, a morning walk along the shoreline after a storm tends to turn up the best finds. Before you fill your pockets, check the local beach rules. Some state parks, national seashores, and protected areas don’t allow you to take anything home, and a quick look at the posted signs or the park’s website saves any trouble. Take only what you need, leave the rest for the next beachcomber, and tuck away any trash you spot while you’re out there.
No beach trip on the calendar? Bagged seaglass from craft shops and online sellers works just fine, and it often comes already sorted by color. Whether it’s genuine or tumbled craft glass matters less than how it’s cut and handled, so choose whatever suits your budget and your project.
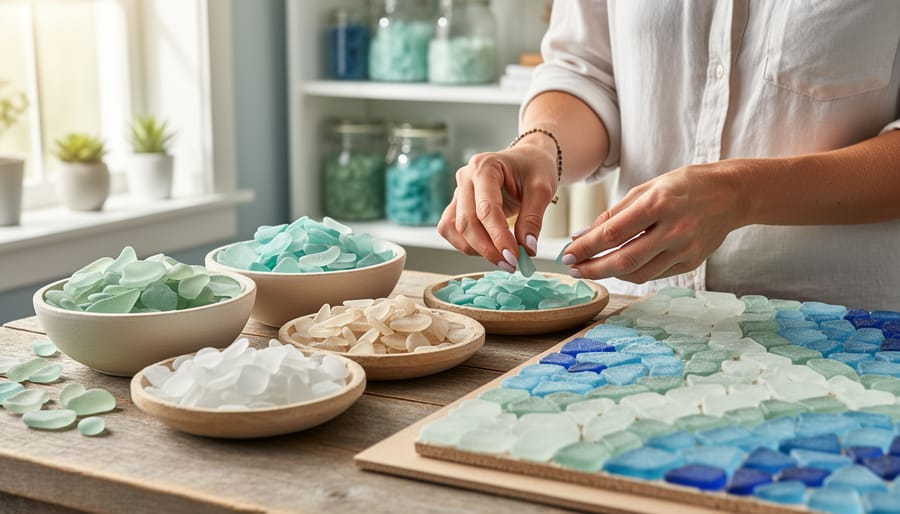
Once you’ve got a pile, sort it before you glue a single piece. A little organizing now keeps the design from turning into a guessing game later.
- Group pieces by color family, such as blues, greens, whites, and ambers.
- Separate smooth, rounded edges from any that feel rough or chipped.
- Stack pieces of similar thickness together, since uneven heights make a bumpy surface.
- Keep frosted pieces apart from glossy ones so the finish stays consistent.
The best mosaic pieces are fairly flat and close in thickness within a single project. Chunky, rounded pieces are lovely, but save them for a different piece, because mixing them with thin shards makes grouting tricky and the finished surface uneven.
Tools and Materials for a Seaglass Mosaic
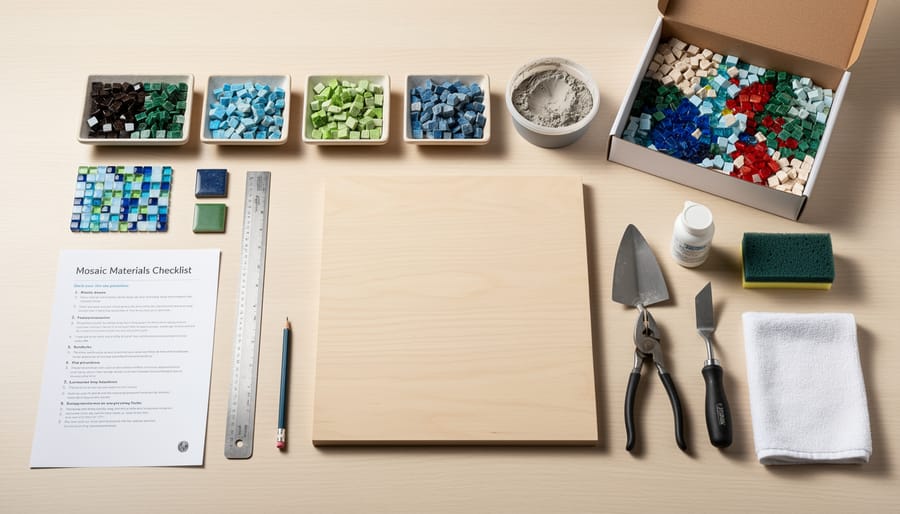
Before you glue a single piece, get your supplies together. A seaglass mosaic doesn’t call for fancy gear, and most of it is easy to find at a craft or hardware store.
Here’s the shopping list, grouped so you can tick things off as you go:
- Base: A wood panel, cement board, or an old tray or frame, as long as it’s flat, sturdy, and clean.
- Adhesive: A glue labeled for glass and suited to your base material, so check the label before you buy.
- Grout: Sanded or unsanded powder, depending on how wide your gaps will be.
- Spreader: A small spreader or old spatula for applying adhesive and pressing grout into the gaps.
- Cleanup: A damp sponge and a few soft cloths for wiping away haze, plus a bucket of clean water.
- Marking: A pencil for sketching your design right on the base.
- Optional: A mosaic tray or shallow box lid for dry-fitting pieces before committing.
A quick word on grout. Sanded grout holds up well in wider gaps, which suits seaglass since the pieces are rarely uniform. Unsanded grout works for tight, narrow spaces. Because most seaglass leaves some breathing room between pieces, many folks lean toward sanded, but your gap size and the product label should have the final say.
Where your piece will live matters too. For an indoor wall hanging or serving tray, a wood panel or pretty old frame is lovely and lightweight. If you’re picturing something on the porch or in the garden, go with cement board and an adhesive and grout rated for outdoor use, since wood can swell and warp in humid weather. Either way, a little planning now saves headaches later.
Safety Warnings Before You Glue or Grout
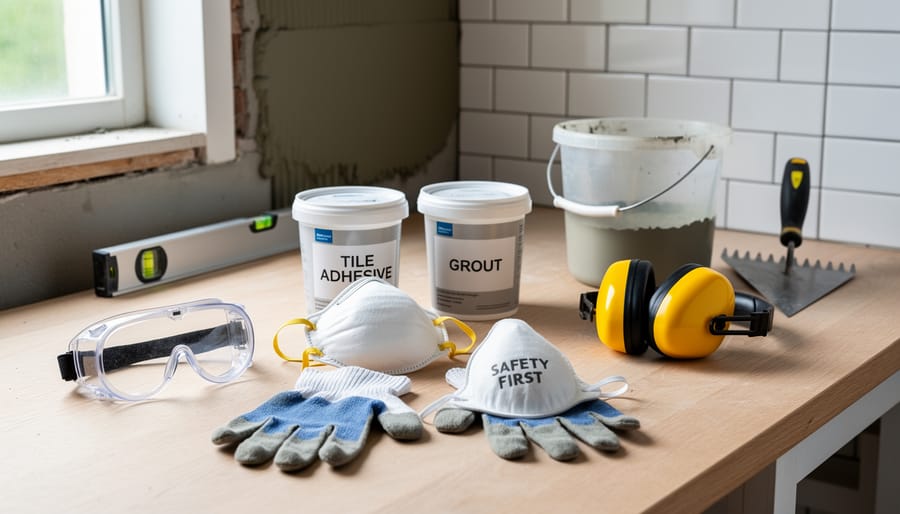
Seaglass is smoother than fresh-broken glass, but “smooth” doesn’t mean “safe.” Before you open a single tube of adhesive, spend a few minutes on handling, because a quick check now saves a cut finger later.
Start by sorting through your pile with your fingertips, not just your eyes. Set aside any piece with a sharp corner, a chipped edge, or a hairline crack. Those can still go in a project if you tuck them into a section where no one will brush against them, but your best pieces should feel soft all the way around. If a piece has to be trimmed or broken to fit, put on gloves and safety glasses first, and work over a towel so the shards don’t scatter.
Work in a well-ventilated spot, like a open porch or a room with a window cracked, since adhesive fumes can build up quickly. Keep tiny pieces off the floor and out of reach of little ones and curious pets, and use a lidded container to store your sorted glass. When you clean up, never rinse leftover grout down a sink or tub drain, because it hardens in pipes. Scrape it into the trash once it sets instead.
Know when to stop, too. Pause if a piece cracks unexpectedly, if you notice fresh sharp edges, or if the adhesive label calls for temperatures, ventilation, or curing conditions you can’t provide. Waiting a day is always better than rushing.
Planning Your Design and Laying It Out
Project Ideas That Suit Beginners
Not sure where to start? Pick something small and forgiving, because seaglass’s odd shapes reward a relaxed hand. Here are a few starters worth trying:
- Serving tray: about 12 by 16 inches, easy, and a lovely first piece for the coffee table.
- Mirror frame: a flat wooden frame, moderate, since the corners take a little patience.
- Garden stepping stone: roughly 10 to 12 inches round, easy, and a fun one to make with the kids’ help.
- Wall hanging: a small wood panel around 8 by 10 inches, easy, perfect for a wave or starfish.
Trays, mirrors, and wall hangings belong indoors, where grout and glue stay protected from the weather. Stepping stones are built for the yard, but make sure your adhesive and grout are labeled for outdoor use before you start.
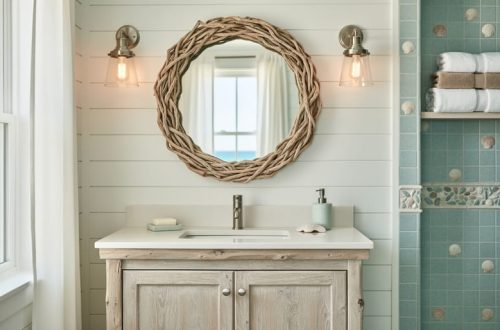
If you’re dreaming of a coastal porch upgrade a mosaic stone along the garden path makes a sweet finishing touch. And a framed mirror in soft blues and greens would fit right into your beach bathroom decor.
Step-by-Step: Assembling, Grouting, and Finishing Your Piece
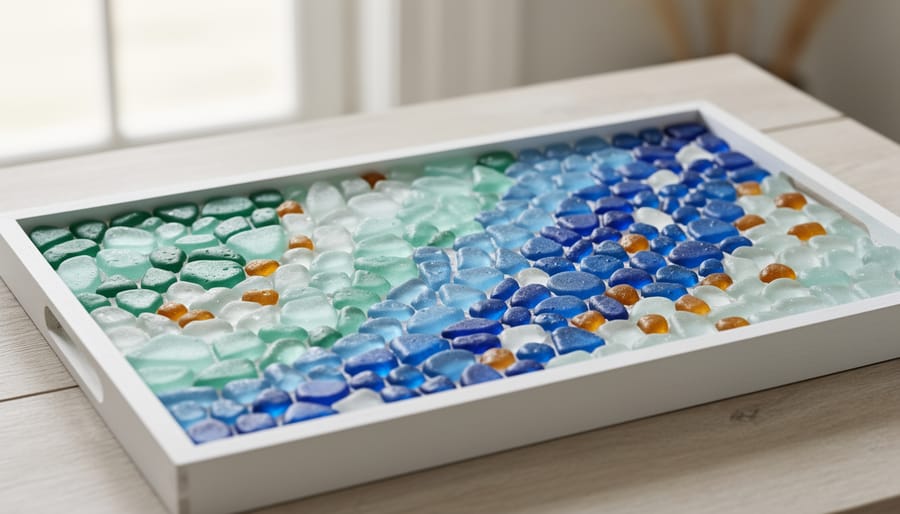
Once your glass is sorted and your layout is dry-fitted, the real fun begins. Work in a well-lit, ventilated spot, and keep the product labels for your adhesive and grout handy, since their set and cure times are the ones that count.
- Prep the base. Wipe your panel, tray, or frame clean of dust and grease, and lightly scuff a slick surface with sandpaper so the adhesive has something to grab.
- Transfer your design. Redraw your loose sketch in pencil right on the base, marking key lines like waves or the outline of a starfish.
- Glue the glass in small sections. Dab a thin layer of adhesive on the back of each piece, press it down, and leave an even gap, roughly an eighth to a quarter inch, for grout.
- Let the adhesive set. Leave the piece flat and undisturbed for the time on the label, often a full day.
- Mix the grout. Add powder to water a little at a time until it looks like thick peanut butter, wearing a dust mask while you pour.
- Apply the grout. Spread it across the surface with your spreader, pressing it into every gap, then scrape off the excess.
- Wipe it clean. After about fifteen minutes, or whatever your label says, wipe the glass gently with a damp sponge, rinsing it often in a bucket rather than the sink.
- Cure and buff. Once the grout has fully cured, polish away any leftover haze with a soft, dry cloth.
A few habits make the whole thing go smoother. Work in sections no bigger than your hand-span so the adhesive never skins over before you’ve placed the glass. To avoid squeeze-out, go lighter than you think you need, since a pressed piece pushes glue sideways. If a bit does ooze up, lift it off with a toothpick before it sets, because dried glue on the surface will show through your grout.
Resist the urge to poke at the piece while it cures. Grout dries unevenly if you rush it, and a little patience here is what keeps your finished mosaic smooth, strong, and ready for its spot by the porch door.
Checking Your Work and Where to Go Next
Common Questions About Seaglass Mosaics
Folks always ask the same handful of things once they’ve caught the mosaic bug, so here are the answers I’d give a neighbor over the porch rail.
Does it matter if my seaglass is real or craft glass?
Not for the finished look or the strength of the piece. Real seaglass has a softer, frosted charm, while craft glass is more uniform and easier to find in matching colors.
Can a seaglass mosaic go outdoors?
Yes, if you build it for the weather. Use a base and adhesive labeled for outdoor use, and check that your grout is rated for it too.
What adhesive works best?
Choose one made for glass and for your particular base, and follow the label on set and cure times. A clear-drying formula keeps the glass looking bright.
How do I clean a finished piece?
Wipe it gently with a soft, damp cloth and a little mild soap, then dry it. Skip harsh scrubbing and abrasive cleaners, which can dull the grout.
If you’re dreaming up where your piece will live, a tray or wall hanging fits right in with your favorite Southern summer decor.
There’s something special about holding a piece of seaglass that’s been tumbled smooth by years of tides, then setting it into a design that’s all your own. That’s the heart of this craft. You take a handful of shoreline treasures, a little patience, and an afternoon, and you end up with a piece you’ll see and enjoy every single day.
Seaglass mosaic art fits right into Southern coastal living, where the porch, the sunroom, and the entryway all tell a little story about home. A small tray or a framed wave pattern can carry that salty, sun-washed feeling into any room.
So start small. Pick one modest project, gather your glass, and take it one step at a time. Mistakes are part of the fun, and every piece gets easier than the last. When you finish, share what you made. We’d love to see how your shoreline finds turned out.